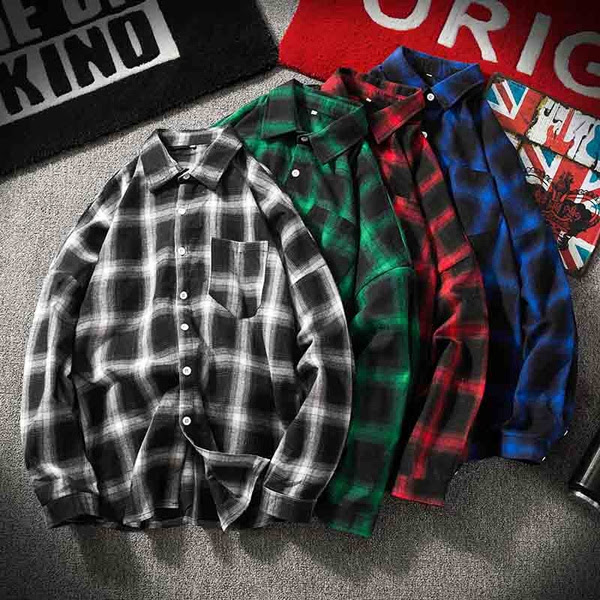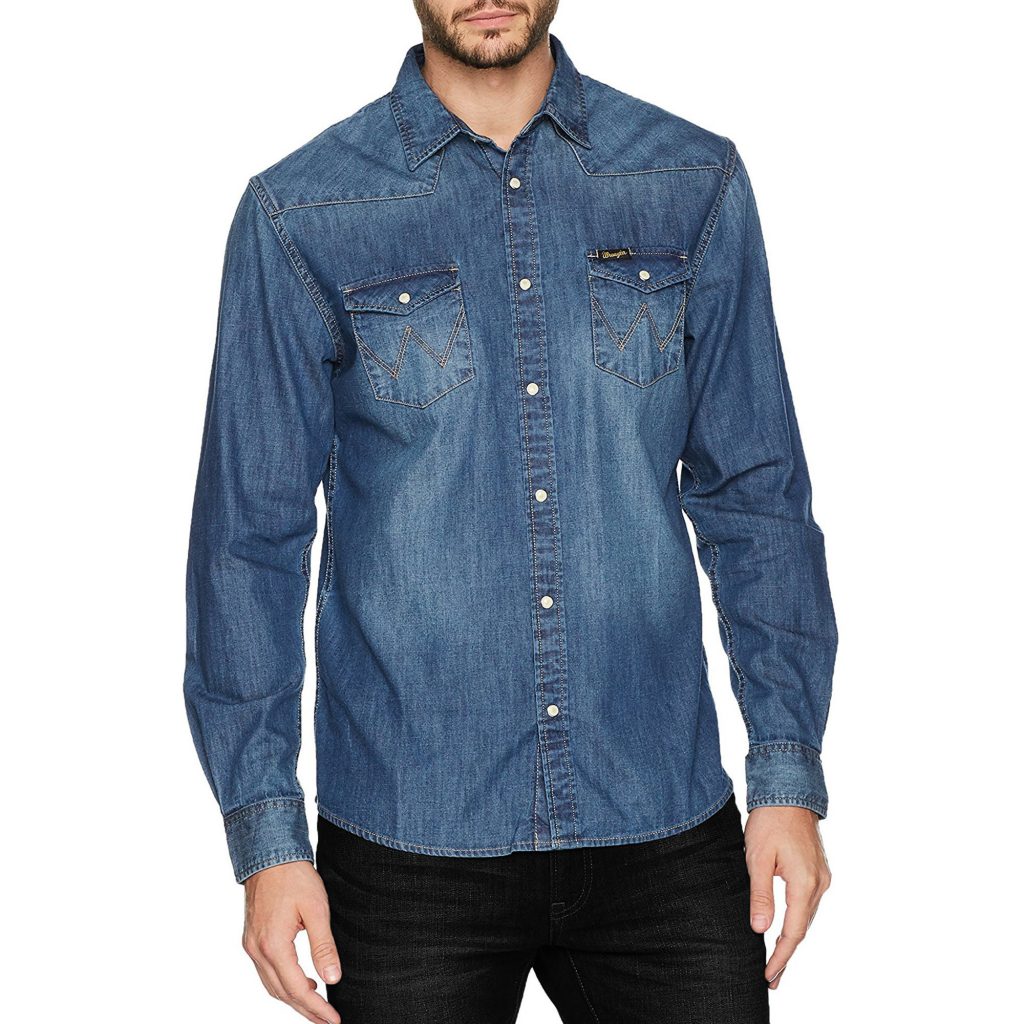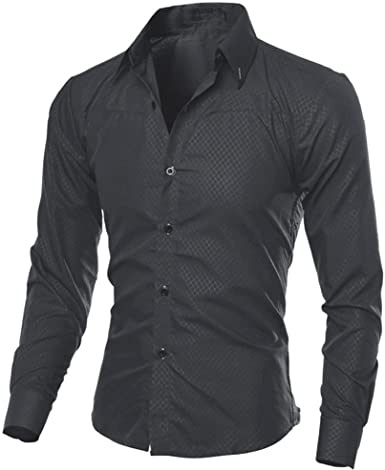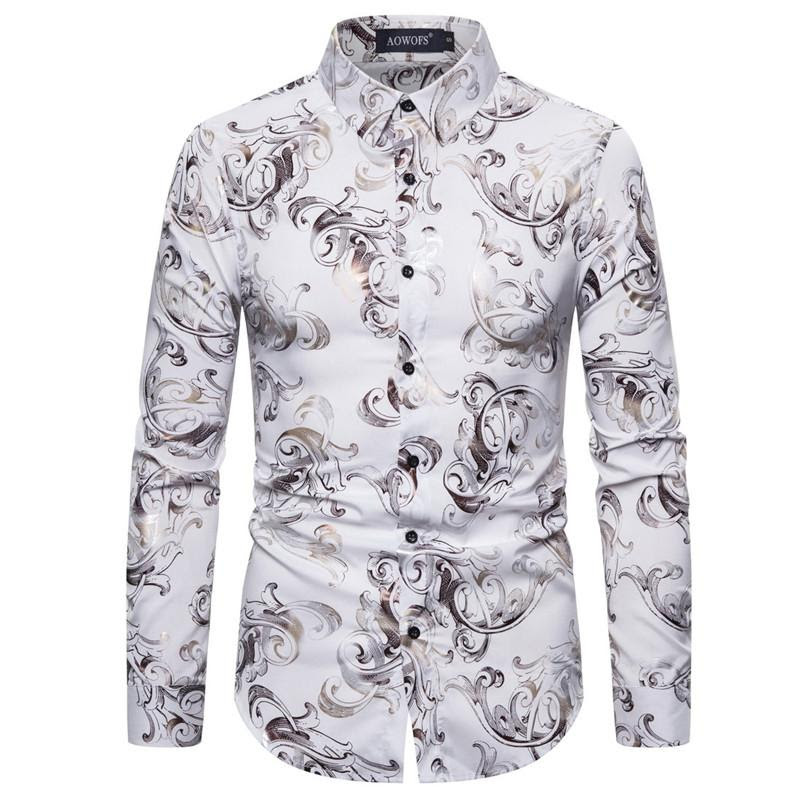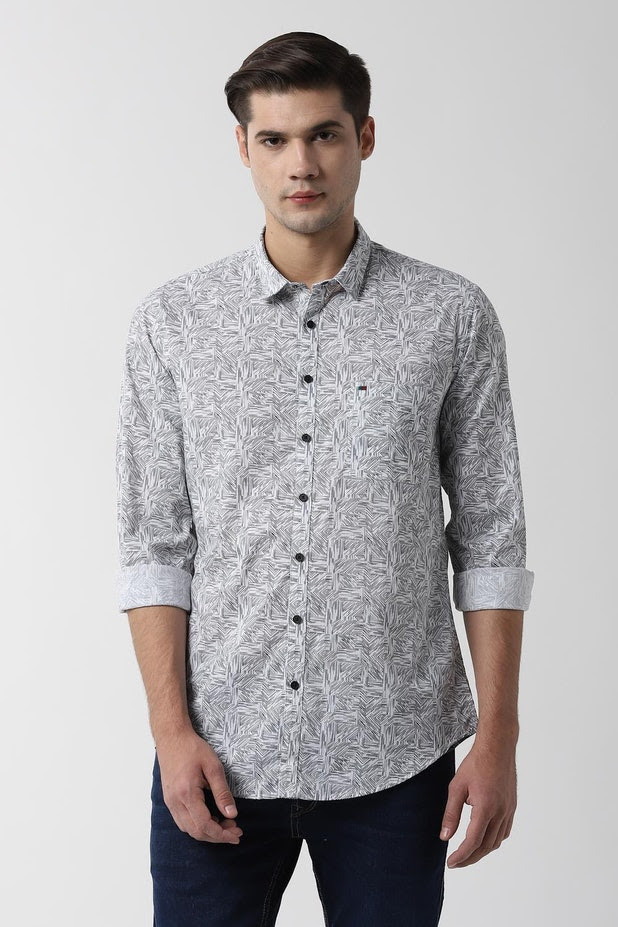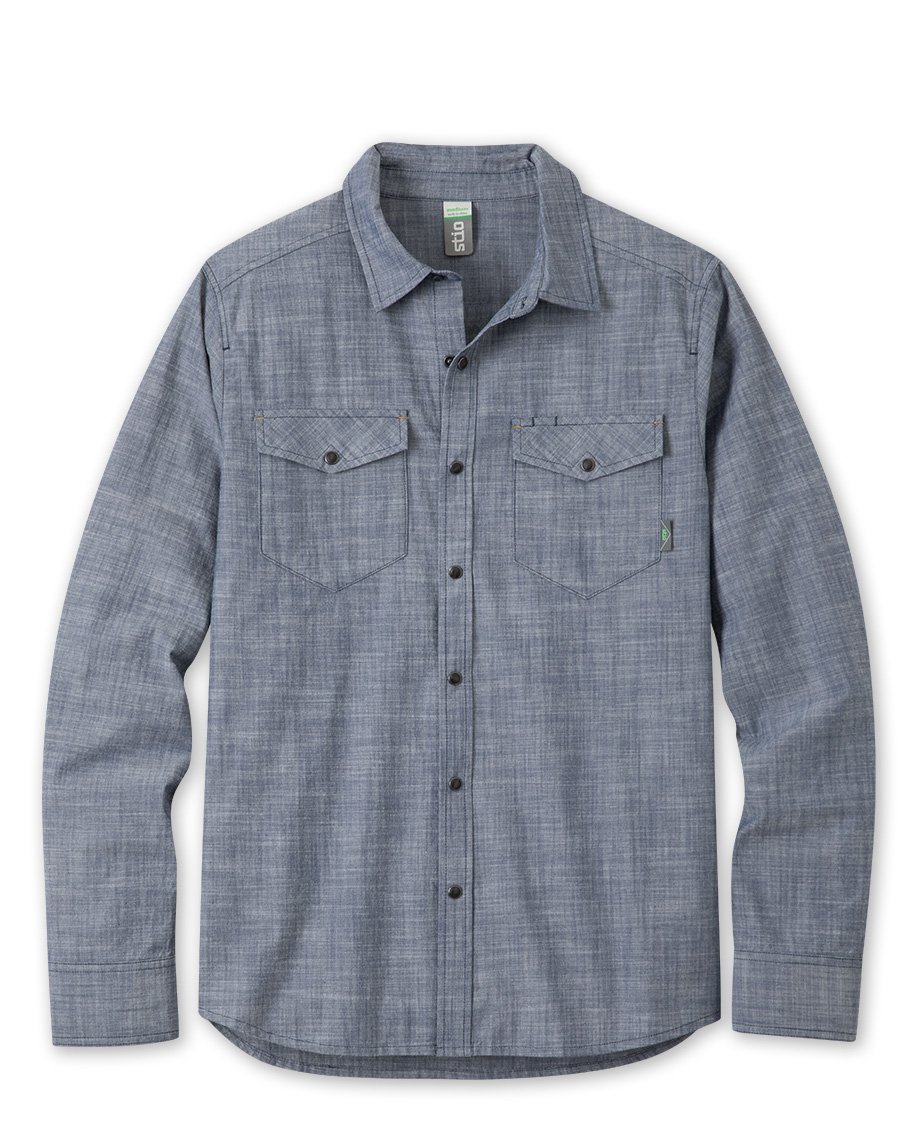
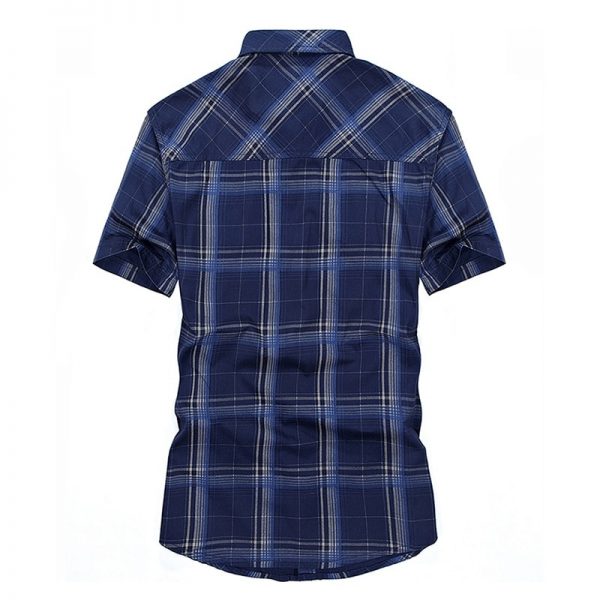
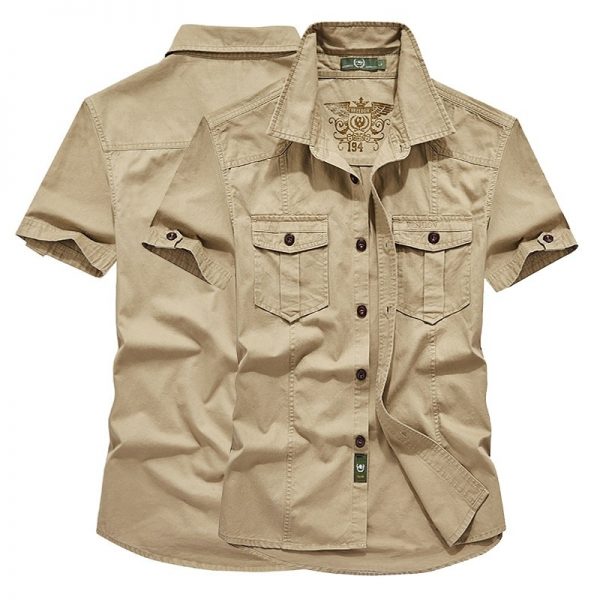
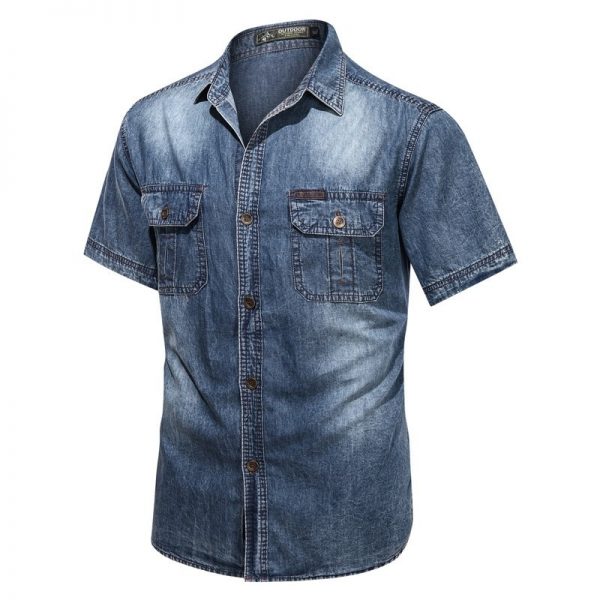
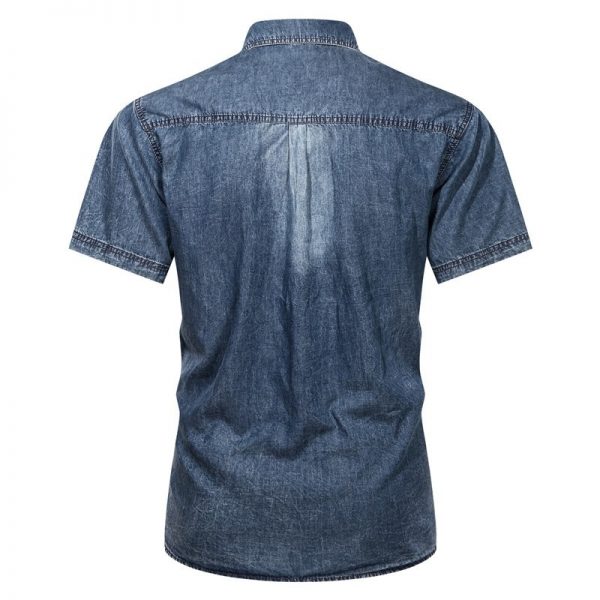
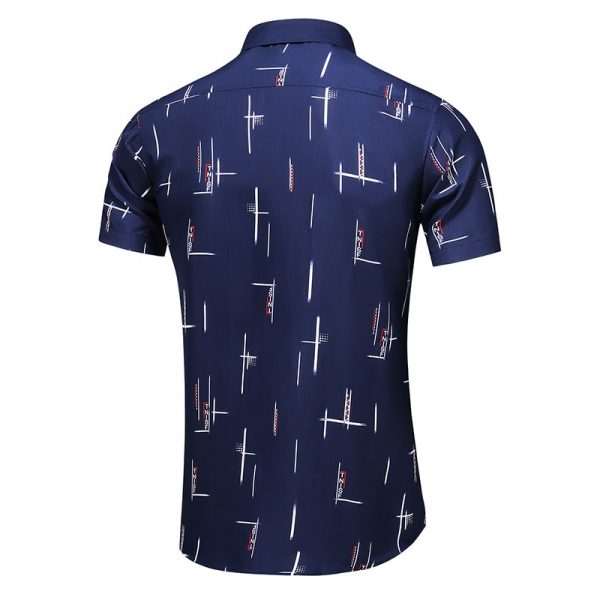
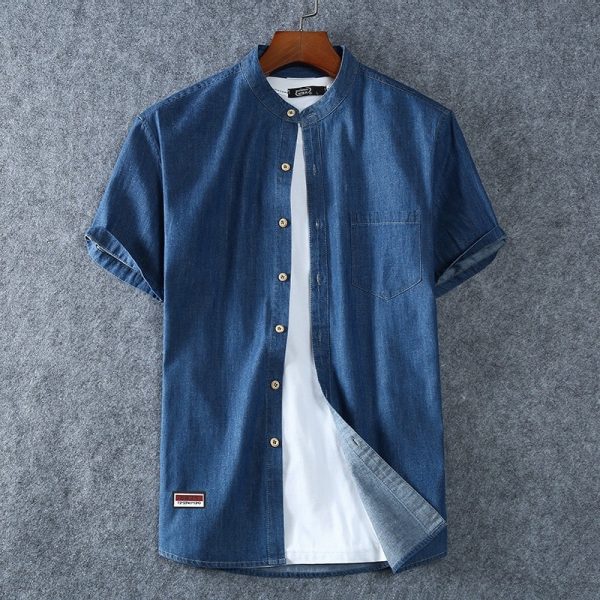
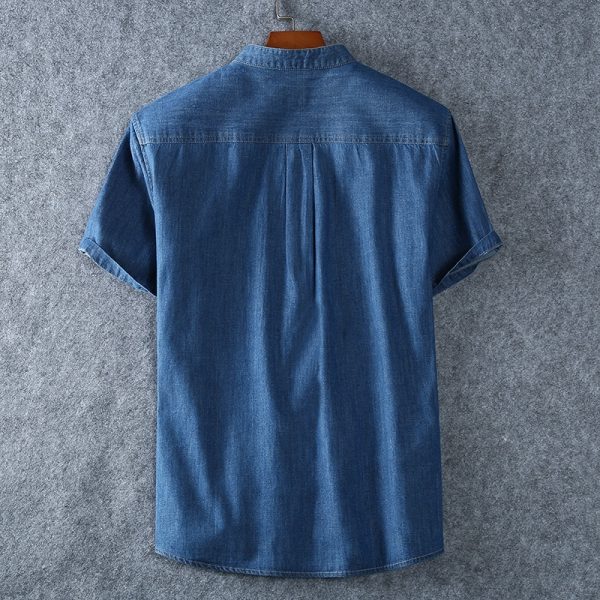
A Chambray shirt is a great item to have in your wardrobe. It will add a touch of sophistication and class to your look. It is also very easy to make yourself, so that every time you want to make a new shirt it can be done quickly and easily at home. This article will give you a few pointers on how to make a chambray shirt.
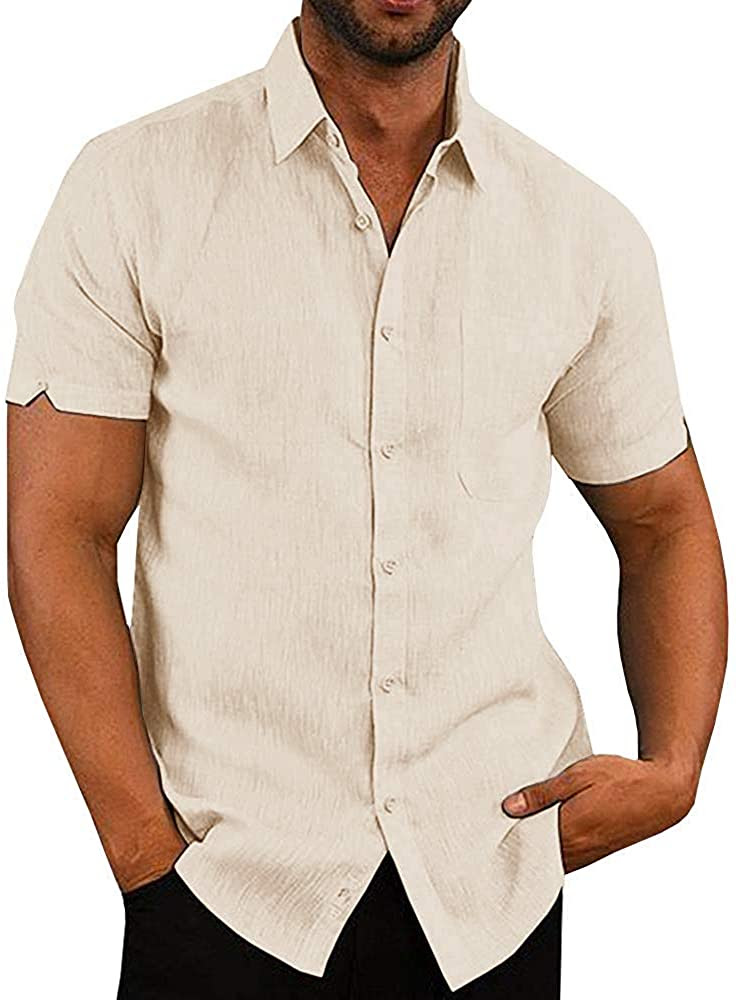
Before you begin working on the shirt, you should decide on what material you want the shirt made from. The most popular materials for chambray shirts are cotton and polyester. Cotton is easy to work with because it can be machine washed. If you have a special stain to remove, it is quite easy to do this with a wash cloth. Cotton is also one of the more comfortable materials, so if you are allergic to fibers, you may want to opt for something else.
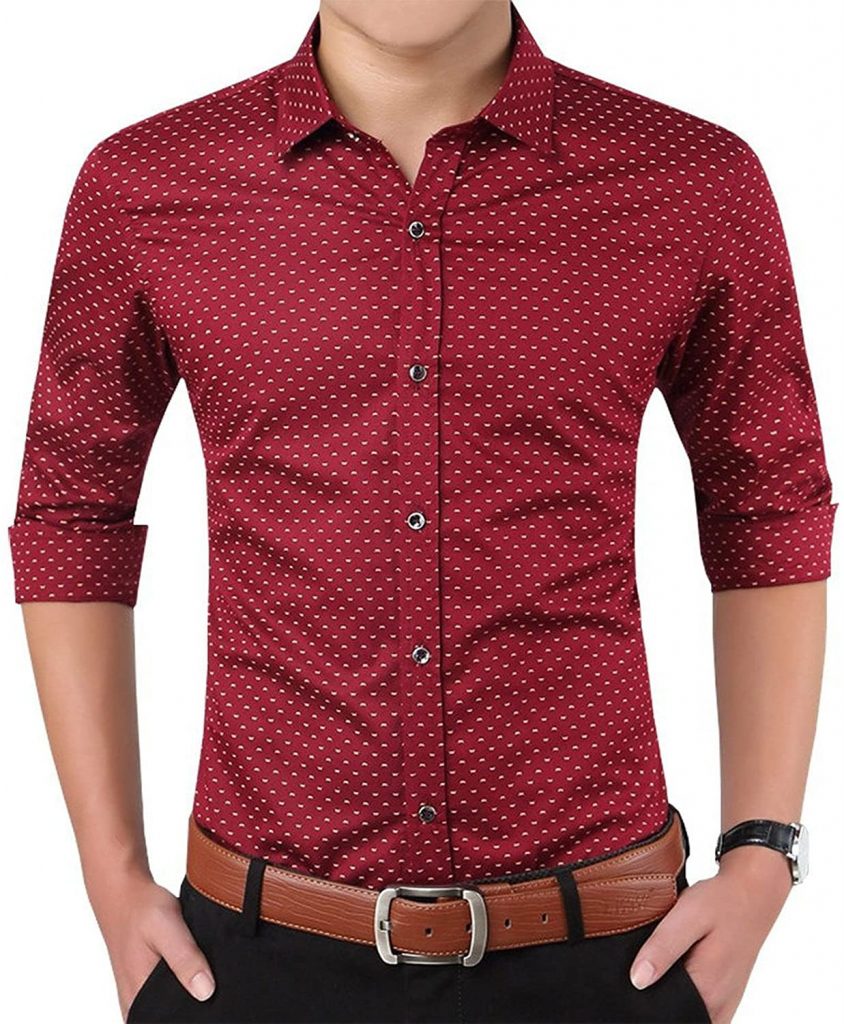
Next, you need to decide on the design or pattern of your shirt. If you are interested in creating your own custom shirt, then it is important to take into account how many people will be wearing the same shirt. If you only intend to wear it once then pick a simple pattern. However, if you are planning to make several shirts then it may be better to choose a more complicated design. A complicated pattern will be more durable.
Next, you need to gather all of the necessary items. You will need a pattern piece, needles and thread, fabric, buttons, laces and ribbons. These items can all be purchased from any sewing store. If you do not have any of these items, then it may be easier to borrow some of them from family members or friends. Once you have gathered all of these items, you should start making your shirt.
Once you have gathered all of the necessary items, you should cut out a template from the fabric that you have prepared. This template will allow you to transfer the patterns to your shirt. You should also make a note of the measurement of your chest area so that you will know the size of shirt that you will need to purchase. This information can also help you to ensure that the shirt maker will be able to create a good-fitting shirt.
Once you have all of your shirt parts together, you should start the construction process. First, you will need to install the fabric. The fabric will need to be sewed onto a template that you made. This template will allow you to clearly see the placement of the embroidery machine.


It is a good idea to also install the machine feeder. This machine is used to help with evenly distributing the heat when the machine is working. When the temperature gets too hot, the feeder will automatically turn off. It is a good idea to practice installing the feeder on a few strips of cloth. This will make it easier for you to handle and will also make it more durable during use.
After this step, you will need to attach the tubes onto the shirt. If you want to be able to use your shirt maker without any problems, you should go ahead and lay the chambray over the fabric on the template. You will then need to stitch the shirt with the machine feeder attached to the backside of the shirt. Then you will need to turn on your shirt maker and follow the instructions carefully.
After you have installed all of these machines, you will need to purchase some shirt. This is easy to do. You can buy t-shirts at local craft stores or you can shop online. It is important to make sure that you purchase an actual shirt in the correct pattern. If you do not purchase an actual shirt, you may find that your machine cannot read the pattern properly and you will have a shirt that does not hang right.
When you have purchased your shirt and you are ready to start stitching, it is important to get started on the first stitch. This is especially true if you are new to stitched items. Take your time and make sure that the stitching is straight and even. If not, you can always start over and do a few stitches to get things just like you want them to be.
A popular technique among those that enjoy sewing is to stitch a simple fabric over an item of chambray shirt. This way, the shirt can be made more formal as the occasion requires. When you have finished stitching your shirt and you are ready to take it back out, you can simply slide the shirt maker out of the machine. Then, you can simply iron the shirt right next to you and iron it right before you store it away. This way your shirt stays looking nice for as long as you need it to!