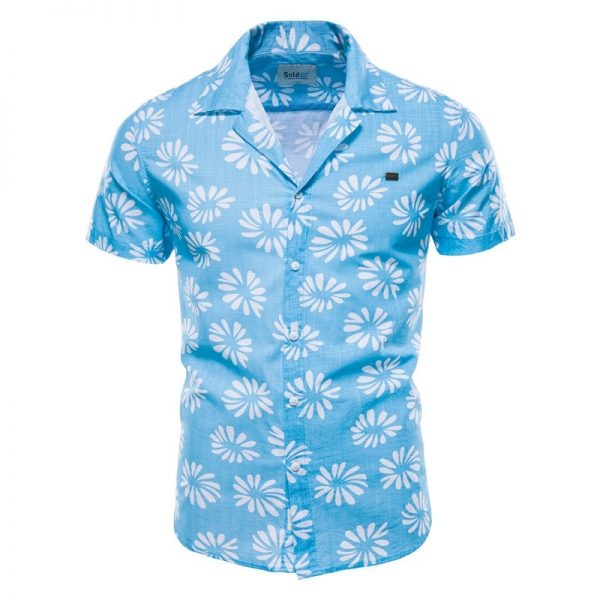
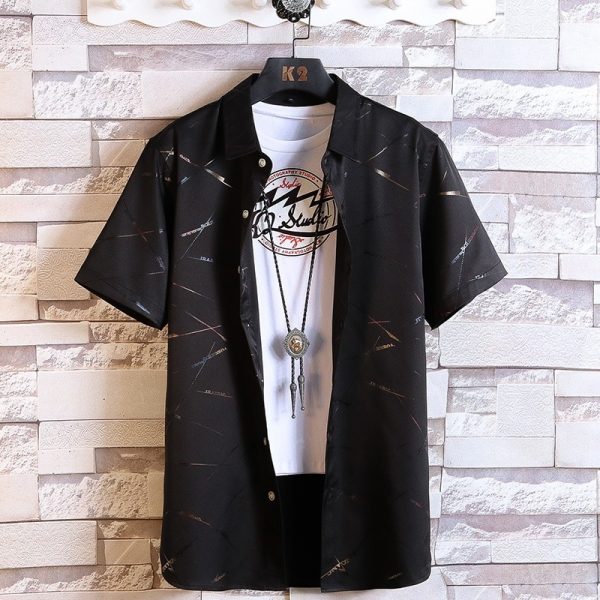
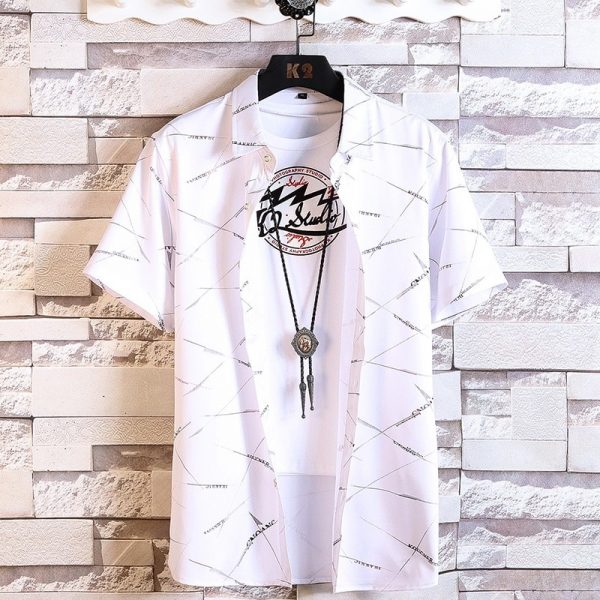
When you think of the different uses of can t-shirts, it is easy to assume that they will be used for wearing as clothing. There are other uses though that has yet to be explored and one of these is the use of can t-shirts to make masks. Although you might think that this would be a difficult task, you will discover that there are ways that can be learnt to create a mask out of these t-shirts.
In the past can shirts have been used to make costumes. For example you can create a face painting effect by using paint and markers.
You may have tried this technique on your own or you might have tried this technique with a family member, friend or co-worker. The first option is probably the easiest of the two and if you do not wish to spend time on a tan shirt then you might want to go for this option.
Once you have the face painted on you should have a can of latex paint available. You should apply the paint to the face using a sponge. Next you should lay the sponge over the sponge and use the can to put on some clothing that has the face printed on.
You should then remove the face mask from the can and lay it down on the face of the sponge. The sponge should be slightly above the area where you applied the face mask. Once this is done you should add some more of the latex paint to the sponge and then you can start working on the rest of the face.
If you choose to do this then you should ensure that the face is covered completely with the can of paint before you start. If you are unable to apply the face paint to the face completely then you will find that it does take longer to get the finished effect.
You will also need some masking tape to help you cover up any areas where you are not completely happy with the results. If you are unsure about whether or not you are doing a good job then it may be a good idea to ask someone else to help you


You should not be scared to try this can shirts method. There are many people who have done it successfully and you may be amazed at what you are able to achieve.
The next part of the process is to remove the mask from the can and then you should lay the masking tape around the entire face. This masking tape will be the part that will hold the mask on the face while you are working on the face. This is to help prevent any creases and wrinkles from forming on the mask.
When you are putting the mask on you should look closely at it to make sure that it is covering the whole face. If there are any gaps in the mask then you should make sure that you get these repaired before you move onto the next part of the masking process.
If you want to put on a second mask then you can use masking tape to make the mask overlap the first mask. You can then repeat this process once you have used the second one to cover up any areas where you are not happy with the result.
If you do not want to put on another mask then you can cover the entire area with masking tape. Once this has been done you will find that the masking tape is the only thing that will be able to hide any seams or wrinkles.
It should be a fairly simple process and you should end up with a mask that you can be proud to put on and enjoy wearing. After you have done this you should put some glue on the edges of the mask and then you can give the mask a final coat of paint to give it a finished look.